ADVERTISEMENT:
How to Draw Markiplier Step-by-Step tutorial
Markiplier is a famous youtuber, who specialized on games commentary videos. In this video I’ll show you how to draw him. Let’s get started! This Character created by GrittySugar!
How to Draw Markiplier Step 1.
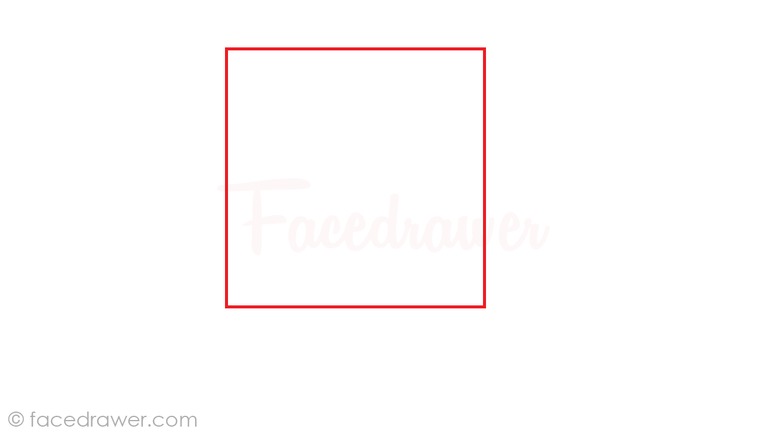
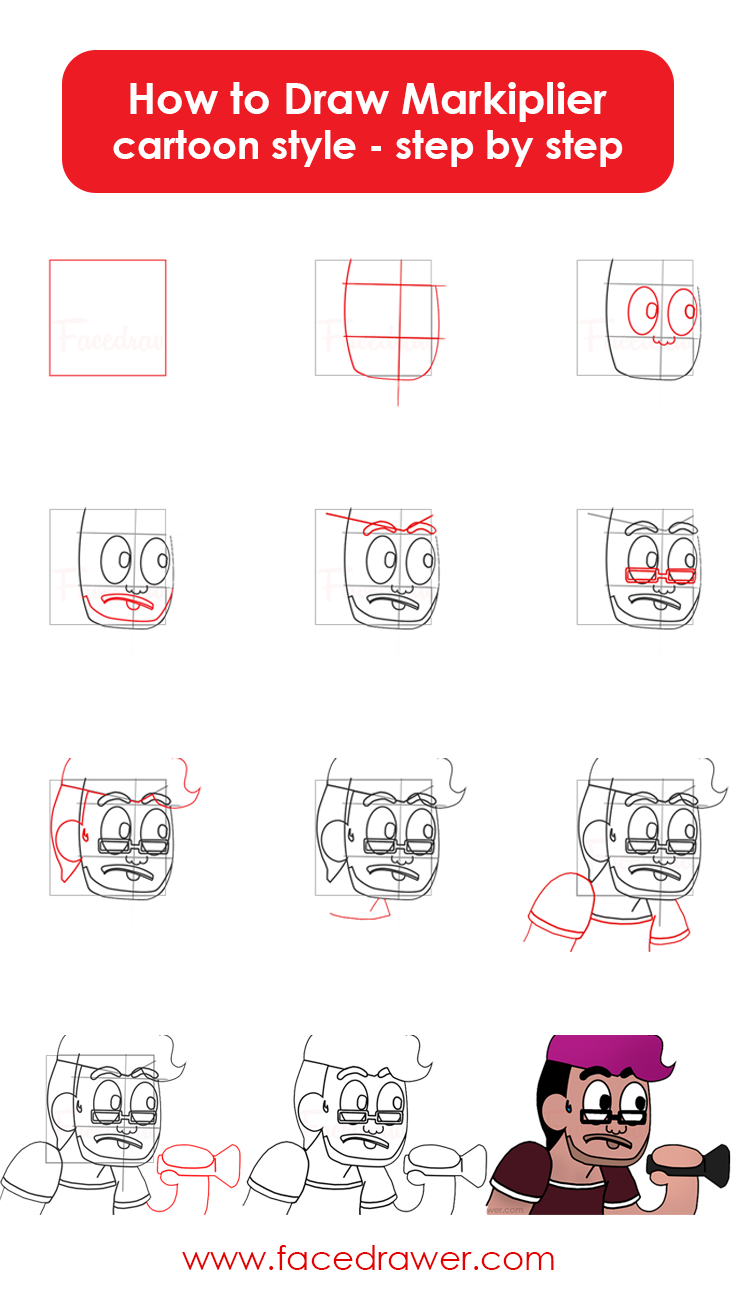
1. First of all, draw a square in the middle of your paper. It doesn’t’ need to be perfect, it’s just a base for the drawing.
Step 2.
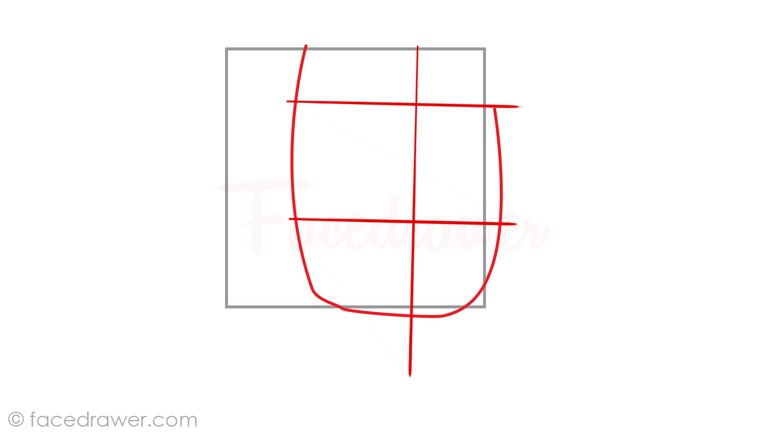
2. Divide the square with 2 vertical and 2 horizontal lines. Use these lines to shape the head of Markiplier, drawing a ’U’ shape between these lines.
Step 3.
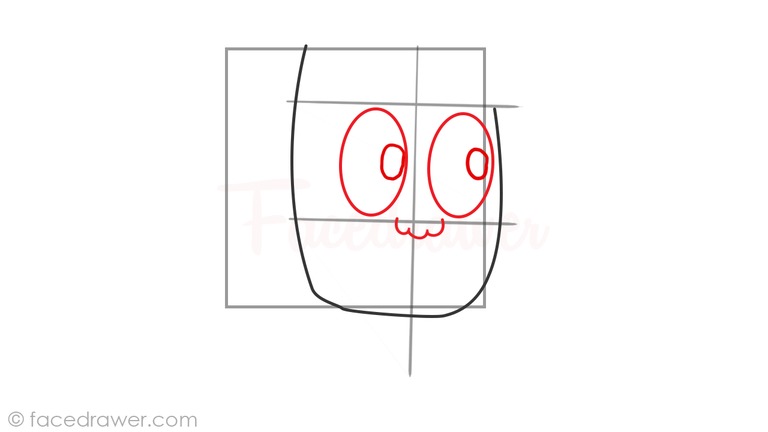
3. Continuing with the head, draw 2 egg shape on both sides of the vertical guidelines. Also, draw 2 smaller on the right sides of the eyes. Add the nose, by drawing a cat paw shaped line.
Step 4.
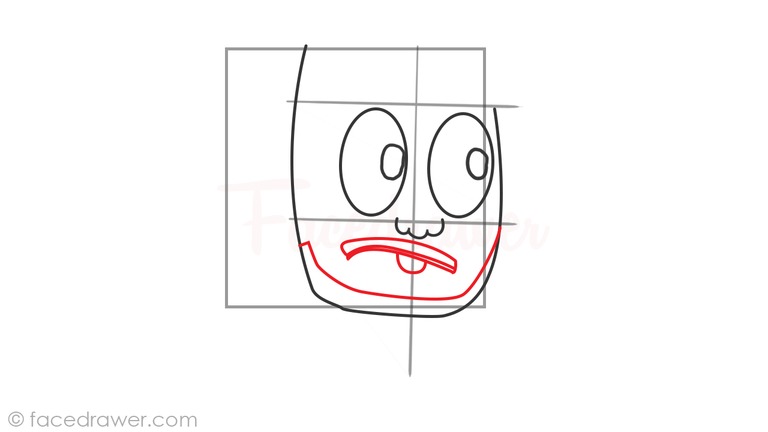
4. If you take a careful look at the photo above,you can see that Markiplier’s mouth looks actually like a canoe upside down, doesn’t it? Try to draw it like this, it might be easier if you imagine the shape like an object. If you’re done, draw a sticking out tongue. Draw a line above the chin, following its shape. If you’re done, move to step 5.
Step 5.
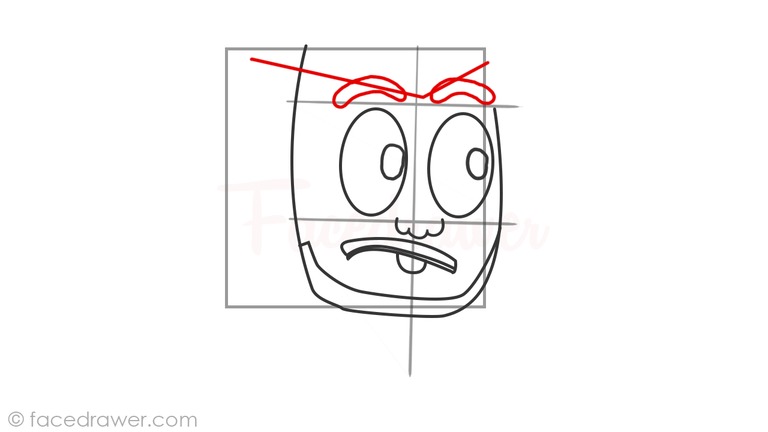
5. From both upper corners pull a line down to the vertical guideline which is crossing the head in the middle. This is going to be the lower part of Markiplier’s hair. Place the eyebrows just at these lines. The shape should follow the bending of the eyes.
Step 6.
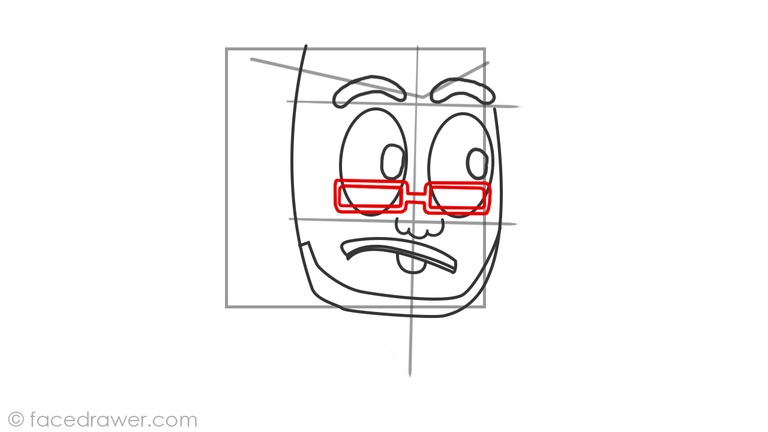
6. The glasses should be placed on the lower part of the eyes. Just draw a rectangle, and another but smaller one in it on both eyes and connect them with two lines.
Step 7.
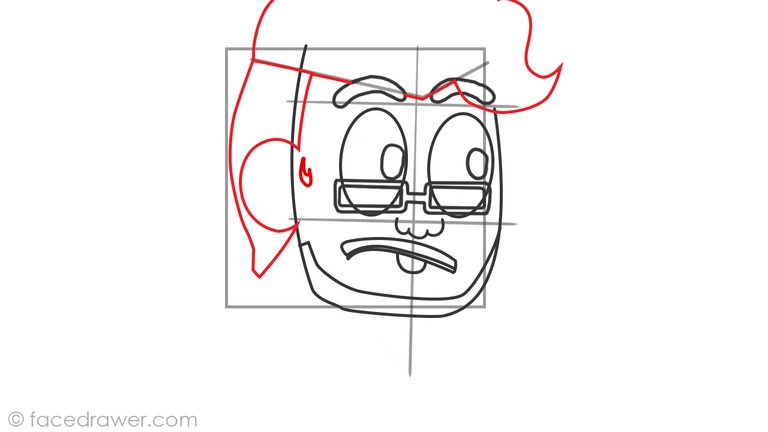
7. Finish the hair by drawing a cloud like shape on the top, finishing with a curved lock at the front and pulling it down at the back. Draw Markiplier’s ear as well. Also, front of it there is a turned tick shape for further hair.
Step 8.
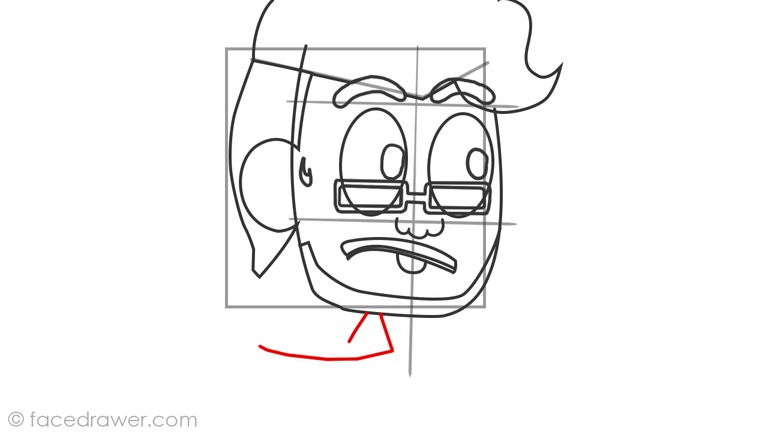
8. Moving on, draw the neck under the square we drew at the beginning.
Step 9.
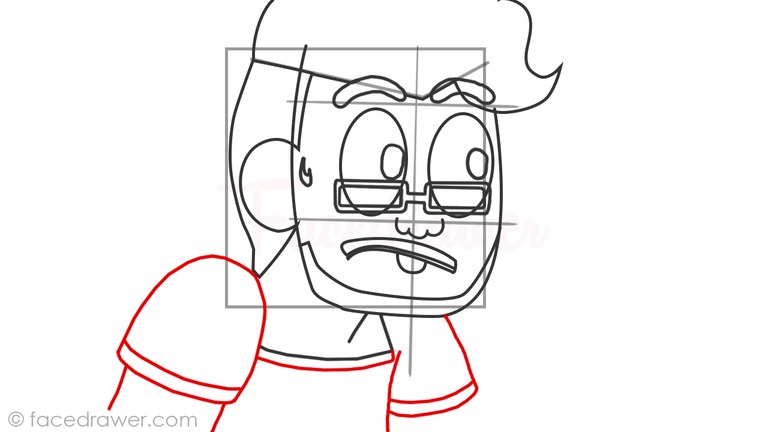
9. Draw the left shoulder as it would be a half circle and draw two lines at the bottom of it for the sleeve of the shirt. Pull down two lines which will make Markiplier’s arm. Make the arm on the right side as well.
Step 10.
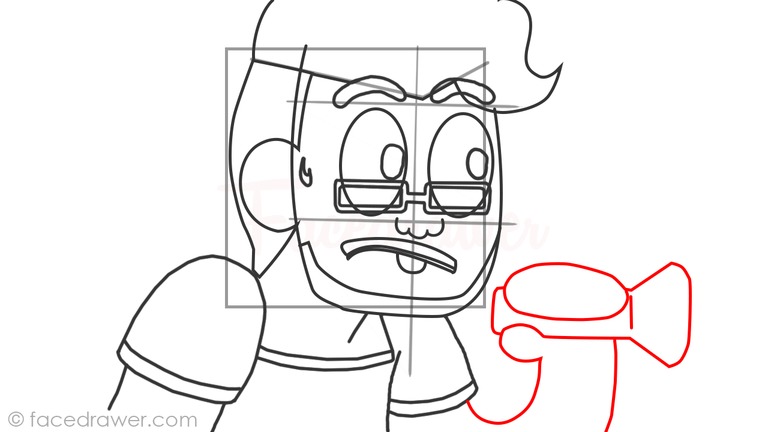
10. Continuing with the torch just draw one rectangle shape and a trapeze shape, which is slightly curved at the top. Draw a potato shape circle on top of it which will make the fingers holding on the torch. Above the torch draw the palm with the thumb.
Step 11.
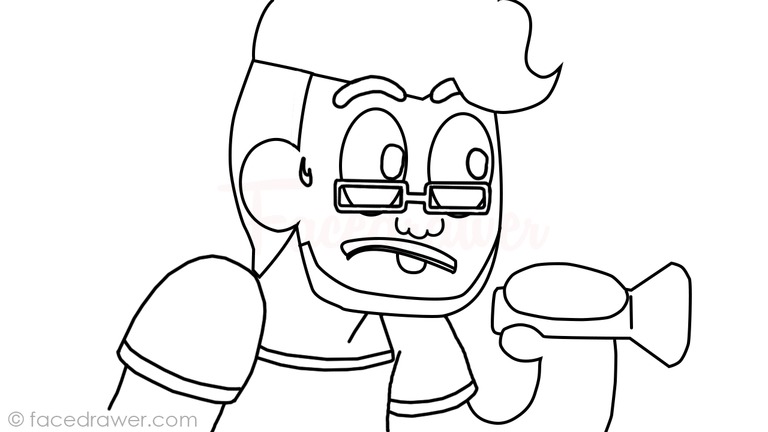
11. Now we’re nearly at the end. Contour the important parts and erase the remaining. If you’re not sure what to keep and what to leave just take a look at the video or the photo above.
Step 12.
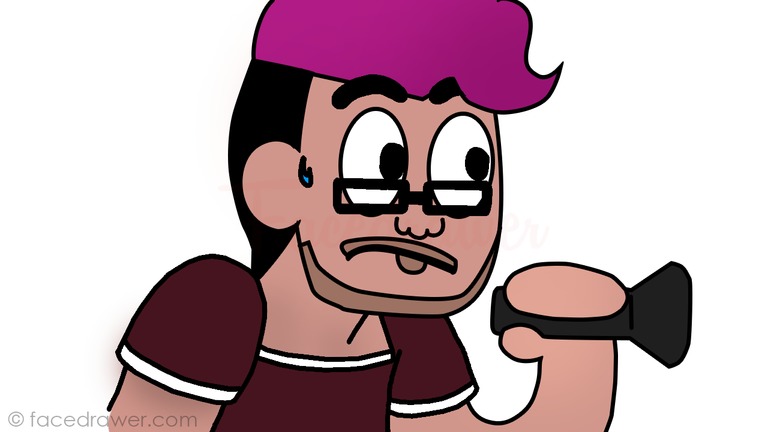
12. And finally finishing up, colour the parts. You can use the colours I’m using or use whichever you want with any kind of material (crayons, markers, pencil…). Let your creativity free. If you’re finished, don’t forget to send me a photo of your drawing so I can put it on the Facedrawer Facebook page. Thanks for drawing with Facedrawer!
Have you seen the How to Draw Jacksepticeye Step by Step Drawing Lesson?
Markiplier Drawing Lesson Infographic:
ADVERTISEMENT:


[…] Pingback: Markiplier is Your Favourite Youtuber? Learn How to Draw Markiplier() […]